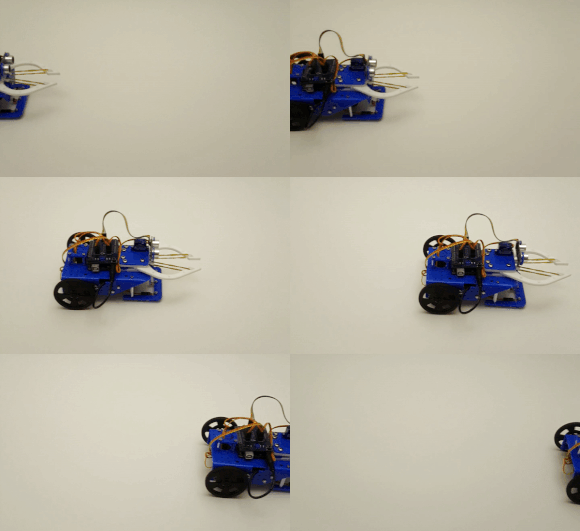
IdeaBot Robot Kit by IdeaLink
IdeaBot Robot Kit by IdeaLink
Out of stock
Couldn't load pickup availability
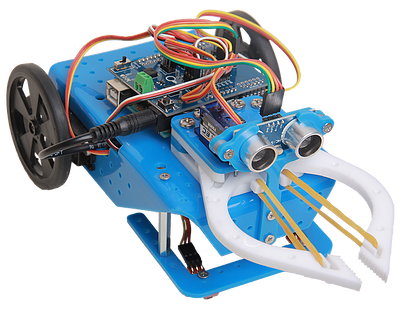
IdeaBot is an Arduino based educational robot kit that is designed to give you the best and easiest learning experience in the field of robotics, sensors, coding and algorithms. The robot is designed for any one aged +13, it takes you from beginner to advance level in a quick time compared to other products in the educational field.
IdeaLink team will make expansion kits for the robot to let you do more with IdeaBot and to help you easily build your own projects in different field.
Technical Specs
IdeaBot technical specs are listed below:
Power specs:
1- Operates on 6 AA alkaline batteries (9V input) recommended.
operation range ( 6v to 12v)
2- Can operate continuously with 4 servo motors.
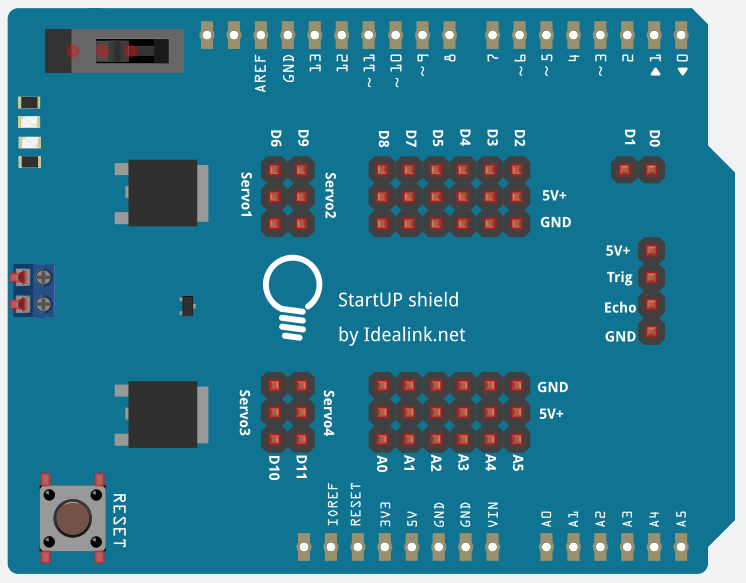
3- Each regulator in StartUp shield can handle a maximum of 1.5 A and a total of 3 A for the two regulators.
check StartUp shield product page for more info.
Other specs:
4 - 6 x analog inputs
5- 6 x digital inputs
6- 1 x sonar separate input and can take more.
7- 4 x servo motors input.
8- ON/OFF power switch for motors.
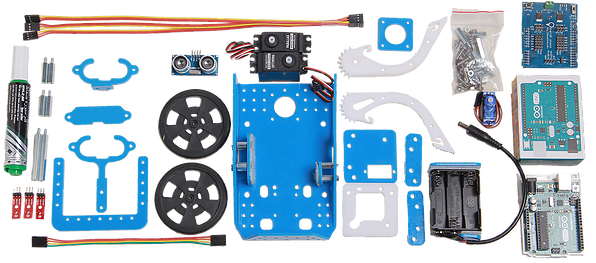
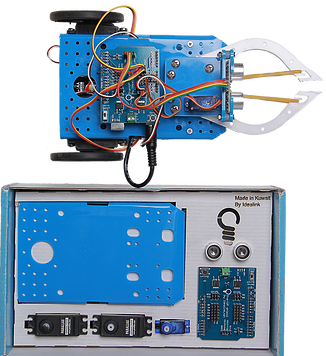
Parts Included
Basic Robot:
2 Standard Servos
1 Robot Chassis
2 Wheels
1 Ball Caster (one piece only)
1 Arduino Uno
2 Strips of Velcro
1 StartupShield
1 9v - DC Jack Wire
1 6AA Battery Holder with Velcro
1 Left Battery Mount with Velcro
1 Right Battery Mount with Velcro
6 M3 x 10 Stainless Steel Standoffs
4 M3 x 20 Stainless Steel Standoffs
8 M4 x 12 Bolts
10 M3 x 8 Bolts
2 M3 x 5 Screws (Black)
8 M4 Hex Nuts
10 M3 Hex Nuts
Gripper Attachment:
1 Micro Servo
1 Base
1 Right Arm
1 Left Arm
1 Gear Seat
2 Spacers
2 Rubber Bands
5 M4 x 35 Bolts
2 M2 x 12 Bolts
12 M2 Washers
5 M4 Hex Nuts
2 M2 Hex Nuts
1 Micro Servo Arm
1 M2.5 x 5 Servo Head Screw
Sonar Attachment:
1 Sonar Sensor HC-SR04
2 Sonar Holders (1 spare)
1 6" 4 pin F-F Wire
2 M3 x 12 Bolts
2 M3 Hex Nuts
IR Attachment:
1 IR Pad
3 QRE1113 Analog Line Sensors
3 12" 3 Pin F-F Wires
5 M3 x 8 Bolts
5 M3 Hex Nuts
2 M3 x 45 Stainless Steel Standoffs
Scriber Attachment:
1 Marker
1 Marker Holder
4 M3 x 20 Stainless Steel Standoffs
4 M3 x 8 Bolts
4 M3 Hex Nuts
Parts Not Included:
- Batteries
- Pliers
Learn and Engage with IdeaLink Step-by-Step Tutorials
IdeaBot comes with afree online project based manual, designed for complete beginners, teachers and even geeks!. It first explains how to install the Arduino IDE enviroment, and how to write simple programs. It then goes on to explain how to assemble Ideabot and the basics of robot movement. After that the various projects are explained, first line following, then obstacle avoidance, then writing and more advanced robot movement, and then using the robotic hand. Each project teaches you the basics concept and simple algorithms, and then challenges you with a more difficult project. Send your solutions (code and video) to the challenge projects to store@idealink.net and we may publish it on our website.
Click here to go to the first practical tutorial of moving IdeaBot.
Click here to go to the line following tutorial.
Important Notes
To have the best performance using IdeaBot please follow this advice:
1- Check the polarity of the sensors and servos while plugging into the shield. Reversed polarity will turn off the circuit due to short circuit and then damage the shield.
2- Use good batteries with high power capacity, like Energizer and Panasonic.
3- Use re-chargeable batteries so you save money, we suggest to buy 12 units so you can work continuously.
4- We recommend using AA NiMH Re-Chargeable batteries as they provide better performance over longer period of time compared to the standard Alkaline batteries.
5- The servo motor power is supplied only by the jack power supplied not the arduino, so you should always have the batteries there to operate.
6- Do not leave IdeaBot power on while not using it... Always remove the power jack once you are done.
7- Use the servo power switch to turn off servo power if you only need to program sensors.
8- Contact us if you need any support or if you are experiencing any issues.
Wish you a great learning journey.
